A created graph is based on a task definition. When you open the schema, you see the Task properties pane on the right. Click the edit icon to open Task definition editor if you need to change the task definition.

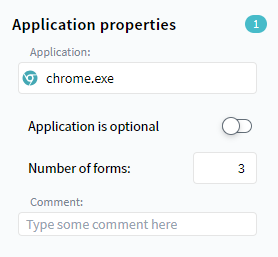
Each part of the schema is interactive. Click an object to see a properties pane. For example, if you click an application, you see a pane like this:

Node and transition settings
Click the node or transition to see the properties pane on the right. Here you can customize the object.
Show table with pane settings and information.
Object |
Information and settings |
Application node |
Information: the application name and number of contained forms within it.
Settings
- Rename
Enter a new name in the Application field. Important. Click the appeared Update task button to apply changes for schema and task definition.
- Ignore
Click the eye icon next to the application name. Important. Click the appeared Update task button to apply changes for schema and task definition. For more details, see Ignored Elements.
- Make optional
Toggle on Application is optional. The application will be grayed on the schema and marked in exported PDD. For more details, see Export to PDD.
- Add a comment
Type the comment text and press Enter. A comment label will appear on the schema. Hover over the label to see the text. PDD will also include the added comment.
|
Form node |
Information: application and form names, the number of controls within the form, and the list of screenshots.
Settings
- Rename
Enter a new name in the Application or Form field. Important. Click the appeared Update task button to apply changes for schema and task definition.
- Ignore
Click the eye icon next to the application or form name. Important. Click the appeared Update task button to apply changes for schema and task definition. For more details, see Ignored Elements.
- Make optional
Toggle on Form is optional. The form will be grayed on the schema and marked in exported PDD. For more details, see Export to PDD.
- Add a comment
Type the comment text and press Enter. A comment label will appear on the schema. Hover over the label to see the text. PDD file will also include the added comment.
|
Control node |
Information: control name and type, event name and type, associated screenshot.
Settings
- Rename
Enter a new name in the Control field.
- Make optional
Toggle on Element is optional. The control will be grayed on the control graph.
- Add a comment
Type the comment text and press Enter. A comment label will appear on the control graph. Hover over the label to see the text.
|
Transitions |
Information: type and percentage of transitions between nodes within a task.
Settings
- Add a comment
Type the comment text and press Enter. A comment label will appear on the schema. Hover over the label to see the text.
|
Note. You cannot ignore start and end nodes or add them to the Ad hoc list as it goes against task definition logic.
Subtask nodes
The task graph can include subtask nodes. These are other tasks that can be analyzed as a separate task as well as a part of the main, bigger task. Click such a node to see the task definition of the subtask. On this pane, you can make a subtask optional to gray it out on the graph.

Double-click the subtask to open its schema. You can interact with the subtask graph in the way you work with the main graph. To return to the task graph, click the main task name in the top left corner of the schema area.
Note. Use the Can be a part of other tasks option to create a subtask. For more details, see Task Properties.
Display settings
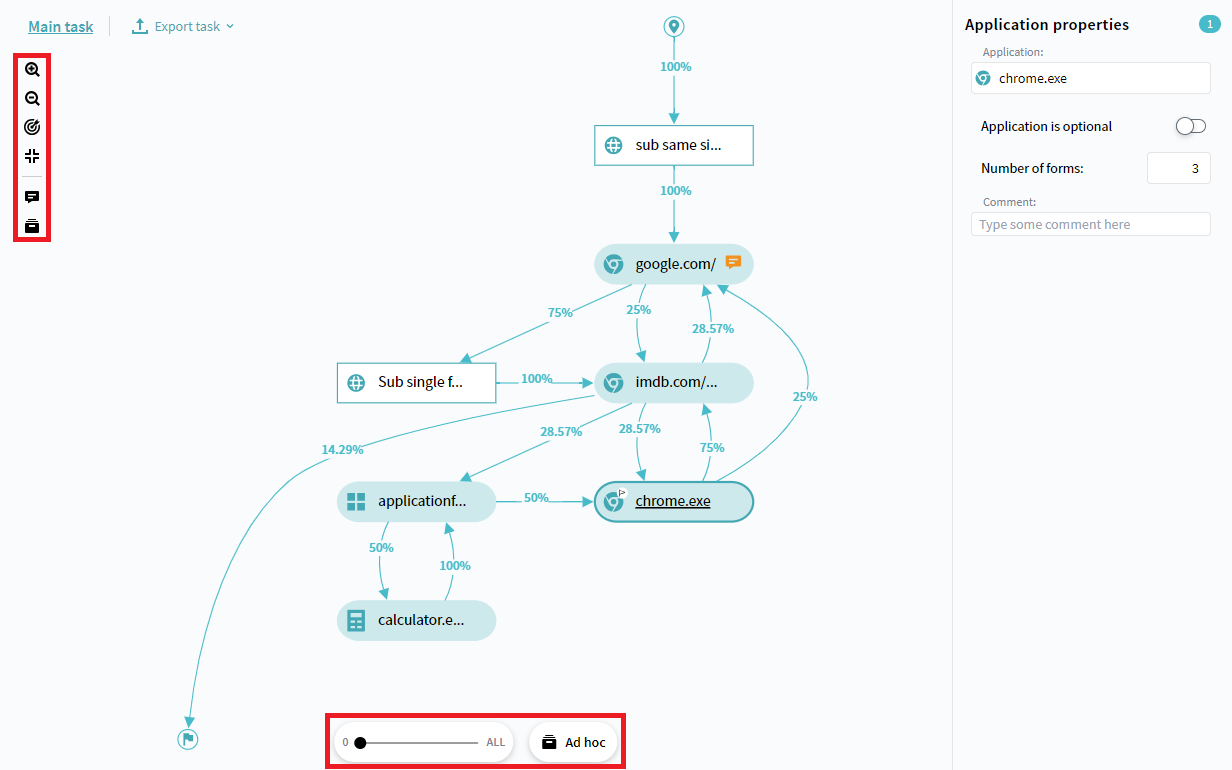
There are also visualization settings for the entire schema. These settings are in the left pane and at the bottom of the Task schema window. Using them you can:
- Show only nodes that have transitions started from a certain percentage.
Use the slider at the bottom, to display only nodes with defined transition frequency.
- Adjust schema display on the screen.
Use buttons on the left to zoom the schema in and out, set the selected node in the center, or make the entire graph fit the screen.
- Add the selected node to the Ad hoc list.
Click
to hide the selected node on the schema but keep it as in the task definition. Revert changes in the Ad hoc list to show objects again.
You can see and revert changes made on the schema in the Task Rules and the Ad hoc lists at the bottom.
Show example of settings panes.