English (English)
How to Configure Classifications
The classifications list is accessible from ![]() > Project configuration. In this list, you can add new classifications, and edit or delete them.
> Project configuration. In this list, you can add new classifications, and edit or delete them.
To create a new classification, in the + add classification field, type a name for it. Make sure that the name is unique in the project. To add it to the list, press the Enter key or click anywhere within the Classifications window. After a classification is created, define it by adding categories and configuring them:
- Click
 on the needed classification to open its editor.
 - Click + add new category. It will appear with a placeholder name and some default settings as a new line in the editor.
- Click Set query to define the new category. A Query tool appears, where you can provide specific parameters that should be treated as the criteria, forming the category. For configuration instructions, see Query.
- Click
 to set a color for the category. This color will be used to highlight the timelines belonging to this category in case you apply coloring in Timelines analysis module. For details, see Coloring timelines.
 - Click Save category.
- If required, repeat the above steps to add more categories to the same classification. You will be able to select the needed set of categories to use as a timeline filter. For details, see Filtering timelines by Categories.
- Add default category if needed. All timelines that do not fall within other configured categories in the classification will belong to the default one.
Note. This category will be visible only when coloring timelines and cannot be used in filtering. - Select Use default category to enable it.
- Provide a meaningful name for it.
- Select a color by clicking . This color will be automatically applied to the timelines, fitting to the default category, when you apply this classification as coloring in Timelines analysis module.
- Click Save to finish the classification configuration.
After the classification configuration is complete, it appears in the Classifications list: 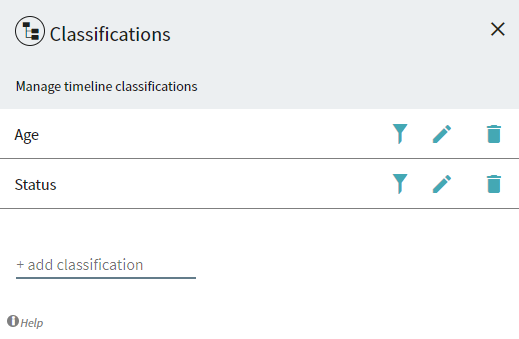
Now you can proceed with Dealing with Classifications.
9/5/2024 4:23:54 PM