English (English)
Sample 3. Step 26: Detecting the Table element with an InvoiceTable element
Now that all the preparations are completed, we can search for the Invoice Table field. First, we describe an element of type Table:
- We describe the Header of the table. We decided (for detailed instructions, see Step 13) to describe the names of the Reference and the Designation columns by keywords (Table element → Properties dialog box → Columns tab → dialog box of column Properties), while the names of the Quantity, Unit Price, and Total columns will be detected with the help of the previously described auxiliary elements.
- We describe the Footer of the table. To describe the footer, we decided to use the previously described element which uses keywords and phrases to detect the beginning of the footer (for detailed instructions, see Step 13).
- We describe the search area of the table. We will use the Sales column name to restrict the search area on the right.
To create the InvoiceTable element:
- Create an element of type Table and name it InvoiceTable.
- Click the Columns tab.
- Click Select and specify the previously described InvoiceTable block as the block to be detected by the InvoiceTable element (for detailed instructions, see Step 2).
- Select the Reference column and click Properties.... We will use the keyword Reference to look for this column name, so leave the default values.
- Select the Designation column and click Properties.... We will use the keyword Designation to look for this column name, so leave the default values.
- Select the Quantity column and click Properties.... We will use the previously detected element TableHeader.kwQuantity to find this column name. Select Use found element as column name option and click
 to select the TableHeader.kwQuantity element.
Show me...
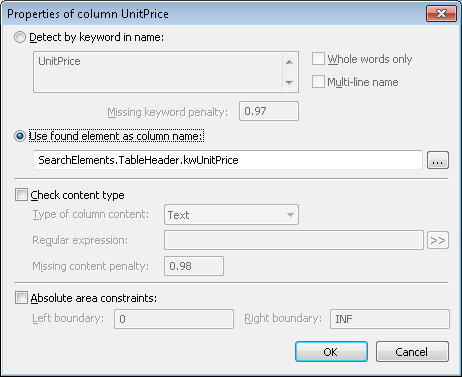
- Select the UnitPrice column and click Properties.... We will use the previously detected element TableHeader.kwUnitPrice to find this column name. Select Use found element as column name option and click to select the TableHeader.kwUnitPrice element.
Show me...
- Select the Total column and click Properties.... We will use the previously detected element TableHeader.kwTotal to find this column name. Select Use found element as column name option and click to select the TableHeader.kwTotal element.
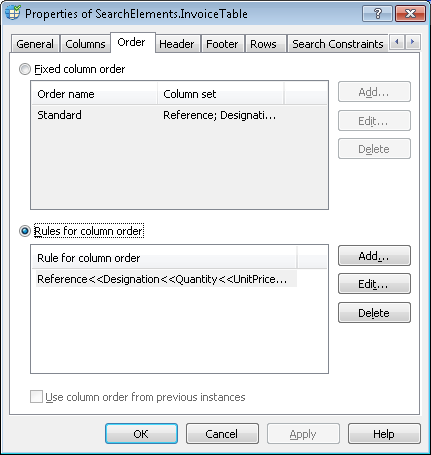
- Click the Order tab.
- There can be other columns between the sought ones (for instance, Unit), but the sought columns are always located in the following order: Reference, Designation, Quantity, Unit Price, Total. Select the Rules for column order option, then click Add... and specify the following column order: Reference << Designation << Quantity << Unit Price << Total.
Show me...
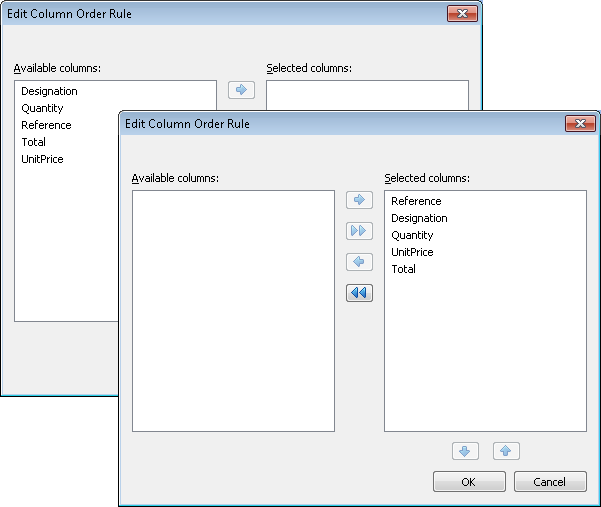
Show me...
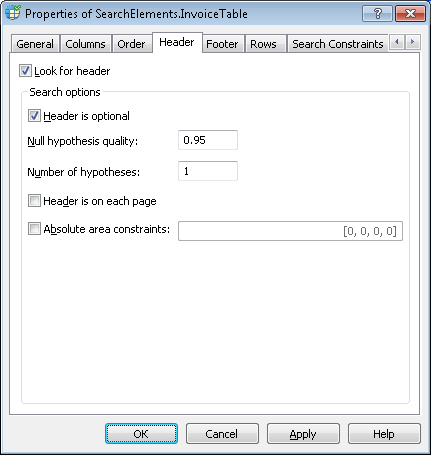
- Click the Header tab. We need the header but we are not going to add any search constraints, so leave the default values
Show me...
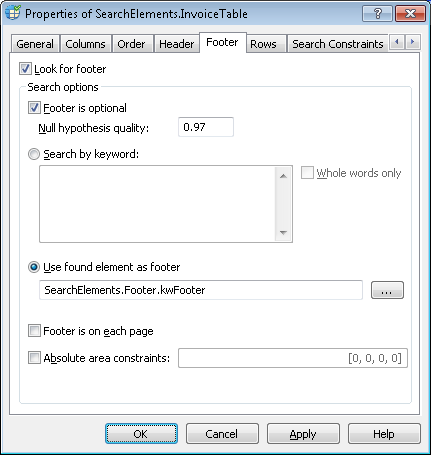
- Click the Footer tab. We will use the previously detected element Footer.kwFooter to detect the footer. Select Use found element as footer option and click to select the Footer.kwFooter element.
Show me...
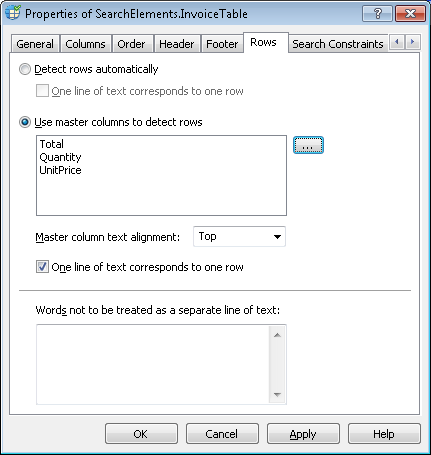
- Click the Rows tab.
- Since some columns in the table may have entries consisting of multiple lines, we have to specify master column to detect the rows. Select the Use master columns to detect rows option. Specify the Total column as the primary master column, as this column always contains data and a single row of the table corresponds to each entry. In case this column is not detected on a document, specify the Quantity and Unit Price columns as secondary and tertiary master columns respectively. Click and specify this order of master columns.
Show me...
- Click the Relations tab. Since the sought columns are located to the left of the beginning of the name of the Sales column (with a small gap), set the following search constraint:
- Left of the element TableHeader.kwSales,
- Offset = -40, Reference boundary = Left.
 Note.When selecting values for offsets, you may want to analyze the geometrical properties (i.e. size and boundaries) of the reference and the sought objects detected during pre-recognition. Otherwise these values are selected by method of trial and error.
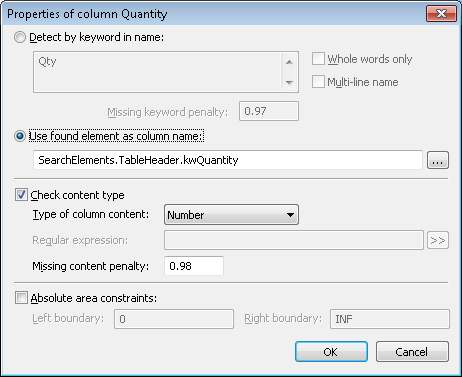
 - Match the FlexiLayout with the test images. You see that the program has successfully detected the table element on all the images where it occurs. But on some of the images, the Quantity column also includes unwanted artifacts from the previous column. To separate the useful data from noise, let’s specify the type of content which may occur in the column.
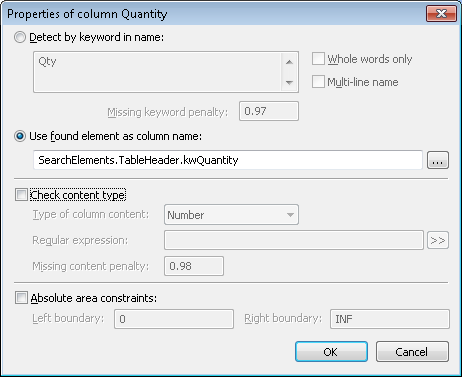
- Open the Properties dialog box of the InvoiceTable element. Click the Columns tab, open the Properties dialog box for the Quantity column and select the Check content type option. Select Number in the Type of column content drop-down list.
Show me...
- Try matching the FlexiLayout with the test images and make sure that the Quantity column does not contain any unwanted data.
- To describe the location of the InvoiceTable block, select the Source element option, then click and specify the InvoiceTable element as the source element.
12.04.2024 18:16:02