Output files will be saved in a Microsoft Office SharePoint library. Complete the following steps to connect to SharePoint:
- Type the URL of the SharePoint portal in the Specify URL address of SharePoint server site box.
- Click the Credentials... button. In the SharePoint Authentication dialog box that opens, type the login and password you use to access the portal. If you want to use Windows Authentication, select the corresponding option. Check the box SharePoint Online to connect to SharePoint 365.
- Click the
 button to connect to SharePoint. If the connection attempt fails, a message with an error code will be displayed.
- Select the library from the Library drop-down list.
 Note. Avoid library names with the slash "/" character. Library names containing slashes will not be displayed in the list.
- Click the Settings... button to associate a document's metadata fields with the corresponding columns of the selected document type in SharePoint.
- In the Folder box, specify the folder in which you want to save output files. You can either type the name of the folder manually or click Browse... and navigate to the desired folder. Leave this field empty if you want output files to be placed in the root folder.
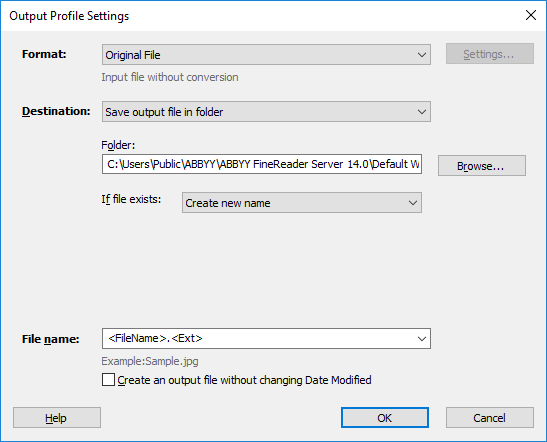
You can change the way Microsoft SharePoint handles files with matching names by selecting one of the items in the If file exists drop-down list. The Create new name option is selected by default, so when the name of a file saved to a SharePoint library is the same as that of an existing file in the library, a prefix will be added to the name of the output file so that it can be saved in the same location. The If file exists drop-down list contains the following settings:
- Create new name
Adds a prefix to the name of the output file and saves it in the same location. The existing file will not be altered.
- Overwrite file
Overwrites the existing file with the output file.
- Use SharePoint versioning options
Versions will be allocated to both files as specified in the SharePoint settings. Make sure one of the versioning options (minor version or major version) is enabled in SharePoint.
When exporting to the SharePoint library, the Back up source files to output library option is also available.
 Note. Full, Edit, and Design permissions are necessary to perform backups. If a user does not have sufficient permissions, the system will only perform processing of files and will display a warning that backup is not possible.
If this option is selected, the system performs the following operations:
- Press the Create Backup Content Types... button to create an RS Source File document type which is to be added to the document's output library (the newly created document type is located in the root directory of the SharePoint site).
 Note. If the output library and the input library do not match, backup copy content types are created only on the root site and in the output library. If the output library and the input library do not match, then backup copy content types are created only on the root site and in the output library.
- The _Backup folder is created in the root directory of the output library. Original documents that are to be assigned the RS Source File document type are saved to this folder.
- Output documents are exported normally. The Source Files column that contains links to original documents in the _Backup folder is included in the description of the output document on the SharePoint site.

 button to connect to SharePoint. If the connection attempt fails, a message with an error code will be displayed.
 Note. Avoid library names with the slash "/" character. Library names containing slashes will not be displayed in the list.