OAuth & OpenID Connect
In this section, you can connect external clients to Timeline so they can exchange data.
OAuth is an authorization protocol that allows granting one service (application) the right to access user resources on another service. The protocol eliminates the need to pass the application a username and password and allows a third-party application to gain limited access to an application or service, on behalf of a resource owner.
You can create a connection with a 3rd-party application by registering it as an external client in Timeline. To do it, click your user avatar at the bottom of the left bar, select Account, and navigate to the OAuth & OpenID Connect tab. Then click Register client and fill in the required fields in the appeared Register OAuth client window.
After the client is registered, you may need to implement the support of the authorization flow selected when setting up the client in the code base of your application. For necessary information from Timeline's side, refer to Timeline's OAuth 2.0 metadata. You can find it using the path below, depending on your instance:
https://{your.timeline.instance}.com/api/auth/oauth/.well-known/oauth-authorization-server
When the connection is set up on both sides, the registered application (client) will be able to access your Timeline account for login and data exchange. The information exchange will be guarded by the OAuth 2.0 access_token, and access allowed only after successful authentication, initiated by the connected 3rd-party application.
For more detailed and technical information about OAuth 2.0, we recommend getting familiar with the latest version of the OAuth 2.0 specification - https://www.rfc-editor.org/rfc/rfc6749
and the OAuth 2.0 Security Best Current Practice document - https://datatracker.ietf.org/doc/html/draft-ietf-oauth-security-topics
You can learn more about the registration of an OAuth client and check the related steps on the example of the creation of a connection for further operations with Timeline features through API in our separate Timeline API guide > Registering OAuth Client in Timeline.
OpenID Connect
When registering a new client, you can also enable OpenID Connect. It is a protocol that extends the OAuth 2.0 capabilities with an option to collect some profile data of an authenticated user. This way, by enabling OpenID Connect you can use this technology to implement Single Sign-On in your infrastructure where the Identity Provider is Timeline itself.
If enabled, you are asked to select Claims that reflect the user information in Timeline Profile:
- email
Address used upon registration, considered user ID by Timeline - name
A concatenation of user's First name and Last name - given_name
User's First name - family_name
User's Last name - phone_number
The user's phone number - locale
The language selected by user - zoneinfo
The user's time zone
These Claim's values are carried in the content of an id_token, which is a separate JWT (JSON Web Token). This additional token is obtained alongside an access_token when performing the required OAuth authorization flow, and users are sending an "openid" scope value with the authorization request. JWT bears a user's identity securely and encoded. To decode it, you can use a standard JWT library implemented in the code base of your application. Here are the examples of id_tokens carrying Timeline user data:
Encoded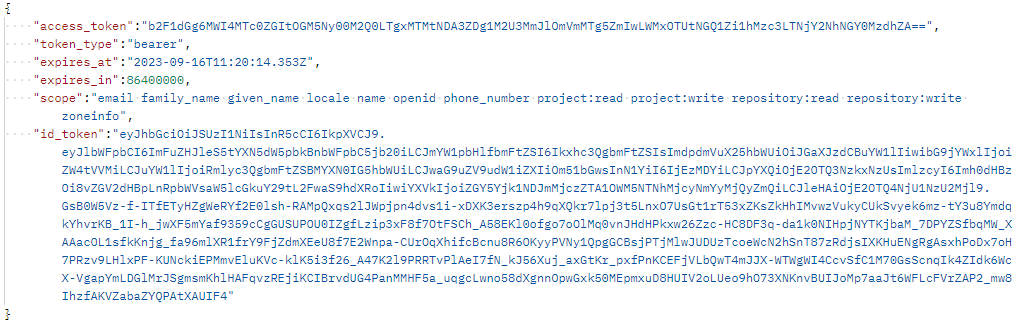
Decoded
For necessary information from Timeline's side on implementing the support of the authorization flow with OpenID, refer to Timeline's OpenID Connect metadata. You can find it using the path below, depending on your instance:
https://{your.timeline.instance}.com/api/auth/oauth/.well-known/openid-configuration
15.07.2024 8:46:08