Managing users
User accounts are created and deleted by the FlexiCapture administrator. The procedure to be followed when creating a new user depends on the authentication type to be used for this user (see Authenticating FlexiCapture applications section).
 Note: If standard IIS authentication is used, ABBYY FlexiCapture must store the user's Windows login in order to authenticate him/her. If FlexiCapture authentication is used (included in the server components setup), the program must also store the user's password (the ABBYY FlexiCapture database will store the password hash).
Generally, an account to be authenticated by means of FlexiCapture can have any login. The login may also be the same as the user’s Windows login. If this is the case, the user should use two different passwords to access the system using different authentication types (for standard IIS authentication, the password specified in Windows should be used; for FlexiCapture authentication, the password specified in ABBYY FlexiCapture should be used). Regardless of the type of authentication used, ABBYY FlexiCapture will identify users only by their logins.
If ABBYY FlexiCapture knows only the login of a user, the user can only be authenticated using standard IIS authentication. If ABBYY FlexiCapture knows both the login and password of a user, the user can be authenticated using FlexiCapture authentication. To enable FlexiCapture authentication for a user, specify "password" as a temporary password for that user:
- In the Administration and Monitoring Console, click Settings → Users.
- In the Login column, click the user's login.
- On the page that opens, click the Reset password button.
The user will receive an e-mail notification containing the temporary password.
Adding users manually
To add users manually, the FlexiCapture administrator must do the following:
- Open the Administration and Monitoring Console, go to the Settings → Users page, and click the NEW USER button.
- On the page that opens, specify the login, full name, and e-mail address of the new user, grant the required roles and permissions to the user, and click the Save button.
A user added in this manner can be authenticated using standard IIS authentication, provided that the user’s login in the system matches the user’s Windows login. In this case, the Windows password must be used for authentication. If the user is not in the domain where the Application Server is located, the pass-through authentication can be used.
For more information on user management, please refer to the Administration and Monitoring Console help page.
For instructions on importing users from the Active Directory, see Using the Active Directory to manage users.
User self-registration (using the web interface)
This method of adding users is used for operators who need to access the system remotely from a browser and who are not in the domain where the Application Server is installed. For such operators to be authenticated by the Application Server, the use of FlexiCapture authentication is recommended.
New users will be able to self-register with ABBYY FlexiCapture by clicking the Registration link on the https://<ApplicationServer>/FlexiCapture12/Login page, where <ApplicationServer> is the name of the computer on which the Application Server is installed.
Note: For the https://<ApplicationServer>/FlexiCapture12/Login web application, anonymous authentication is enabled in IIS, so the registration page can be accessed by any user.
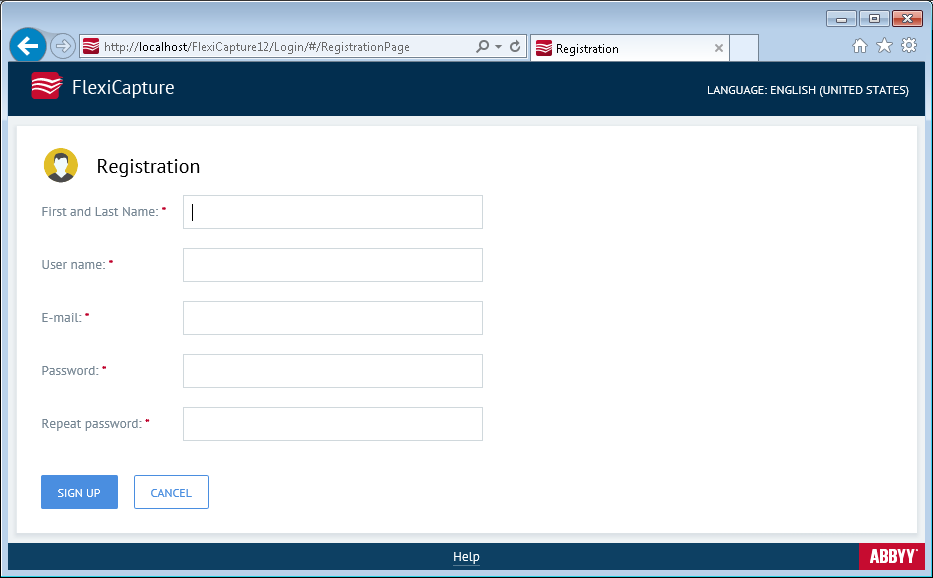
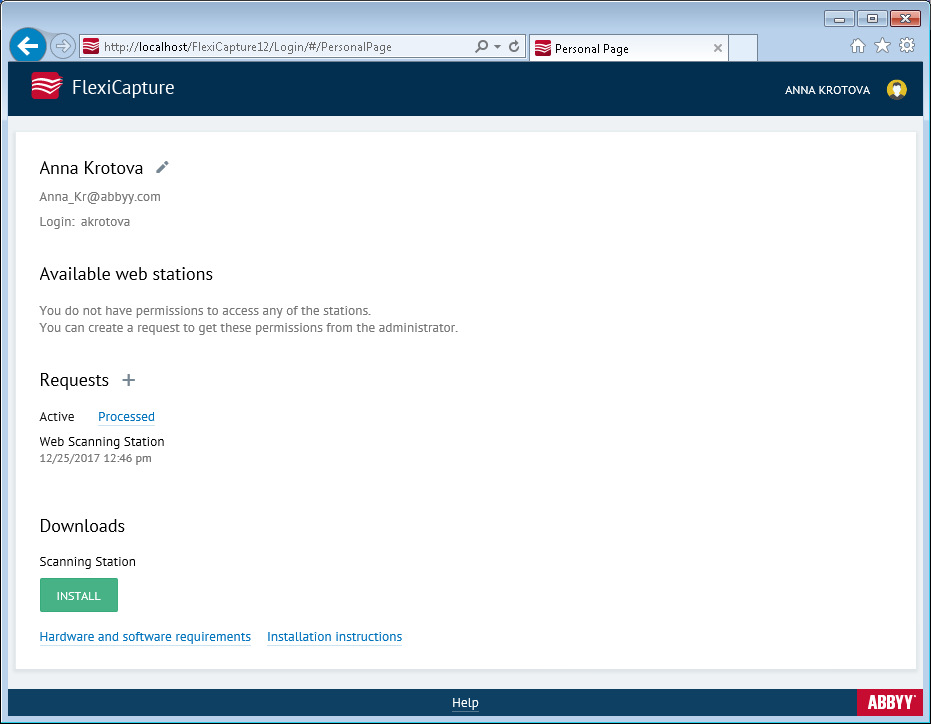
After the user completes the registration form and clicks the Sing up button, they will be asked to specify the web stations for which they need access permissions. Next, the user will be added into the system and redirected to their personal page.
Requests for roles and access permissions are processed by the administrator on the Settings → Requests page of the Administration and Monitoring Console.
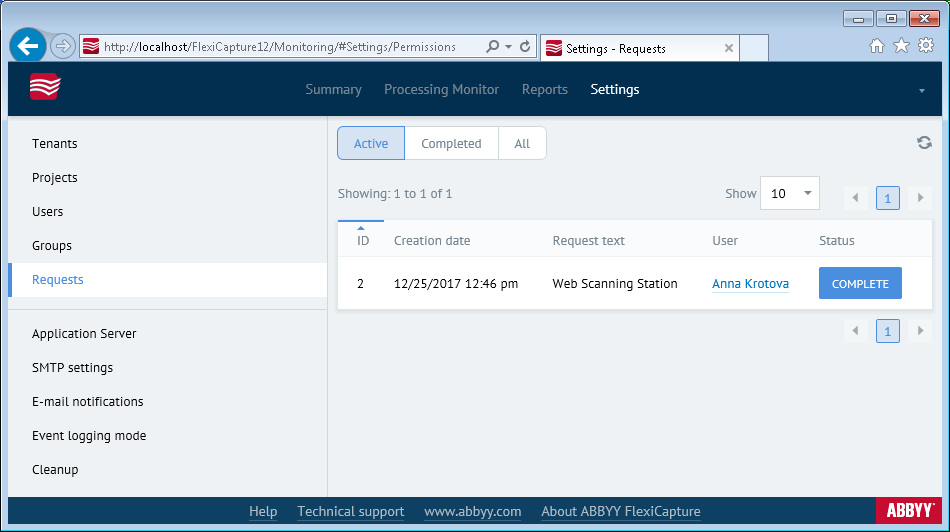
To process a request for a role and access permissions, the administrator must click Settings → Users and then click the user's login in the Login column. On the page that opens, the administrator can select the necessary roles and access permissions. To complete the process, the administrator must click Settings → Requests and then click the Complete button. The user will be able to see that their request has been processed by clicking the Processed link on their personal page.
Once the roles are assigned and access rights are granted to the user, the list of available stations will be displayed on the user’s personal page. To update the information displayed on their personal page, the user must click the Refresh button.
User self-registration (without using the web interface)
This method of adding new users is suitable when only standard IIS authentication is used. The method eliminates the need for the administrator to enter user logins manually. Instead, the administrator only assigns roles and grants access rights to already created logins.
To use this registration method, a user must log in to a station using their Windows login and attempt to open a project. An error message “Access denied. Contact your administrator.” will be displayed. At the same time, the user’s login will be displayed on the Settings → Users page of the Administration and Monitoring Console, so that the administrator won't have to type it manually. All the administrator has to do is grant the requested roles and access rights to the user.
Deleting user groups
Users can be deleted on the Settings → Users page. User groups can be deleted on the Settings → Groups page. To delete users, select them in the list and click the Delete button.
Note: Information about each user is automatically recorded in the database archive. Deleting a user won't affect the statistics included in reports.
4/12/2024 6:16:01 PM