Logs
On the Logs page, you will find detailed information about recorded user sessions from connected Recorder workstations. Only Recorders installed in the Server managed mode can send captured logs to Recording Service.
Before you begin
Important. Role required: Recording Service user.
If your account is not added to the Admin AD Security group specified during the Recording Service installation, you will not have access to the Recording Service website.
To be able to upload logs to the Timeline project, make sure that connection with Timeline is set. For details, see Workflow Guideline.
Basic options
Open the Recording Service website and go to the Logs tab. On the page that opens, you will see recorded user sessions from the connected Recorder instances. The information about each log includes: the Log id, the Recording start time of the recorded session and its Duration, the Disk space occupied by the log in MB, the Recorder Version, the number of Recorded events, the Tag and the Template used for the Recorder instance. If the log is uploaded to Timeline project(s), the name of the Last project involved is displayed in the respective column. The status of the log upload is displayed in the Processing column in percents(%).
The following operations are available for the selected log(s):
- Apply transformation
You can apply created transformations for all recorded logs. To do this: - Select logs and click Apply transformation in the top right corner.
- In the opened Apply transformation window, select transformations.
- Click Apply to selected logs. You can also click to Apply to all logs if the transformation(s) should be used for each of the available recordings.
- Download
Allow saving selected logs to your computer as ZIP files. The archive includes folders having the names of downloaded log IDs. Each log folder consists of Commands, Forms, and Screenshots subfolders with applied export settings.
For more information about export settings, see Administrative settings > Logs. - Load to project
Using this feature, you can upload logs to the project in the connected Timeline account. To do this: - Select logs and click Load to project in the top right corner.
- In the opened Project list windows enter the name for your new Task Mining project and click Create to upload logs.
- All selected logs will be queued for upload.
Information about the upload process is displayed in the message box. You can abort the upload by clicking Cancel in the message box
Note. It is impossible to cancel the upload of logs that have already been submitted to Timeline by the moment of cancellation. Such logs will be available for work on the Timeline website. - Click
 to see the log import status. After the program finishes the import, click the project name link to navigate to the Task view page with project overview information.
Note. The Task view page opens on the Timeline website. - Delete selected
Allow deleting selected logs from Recorder Service.
Important. This action cannot be undone. Consider downloading logs to your computer before deletion.
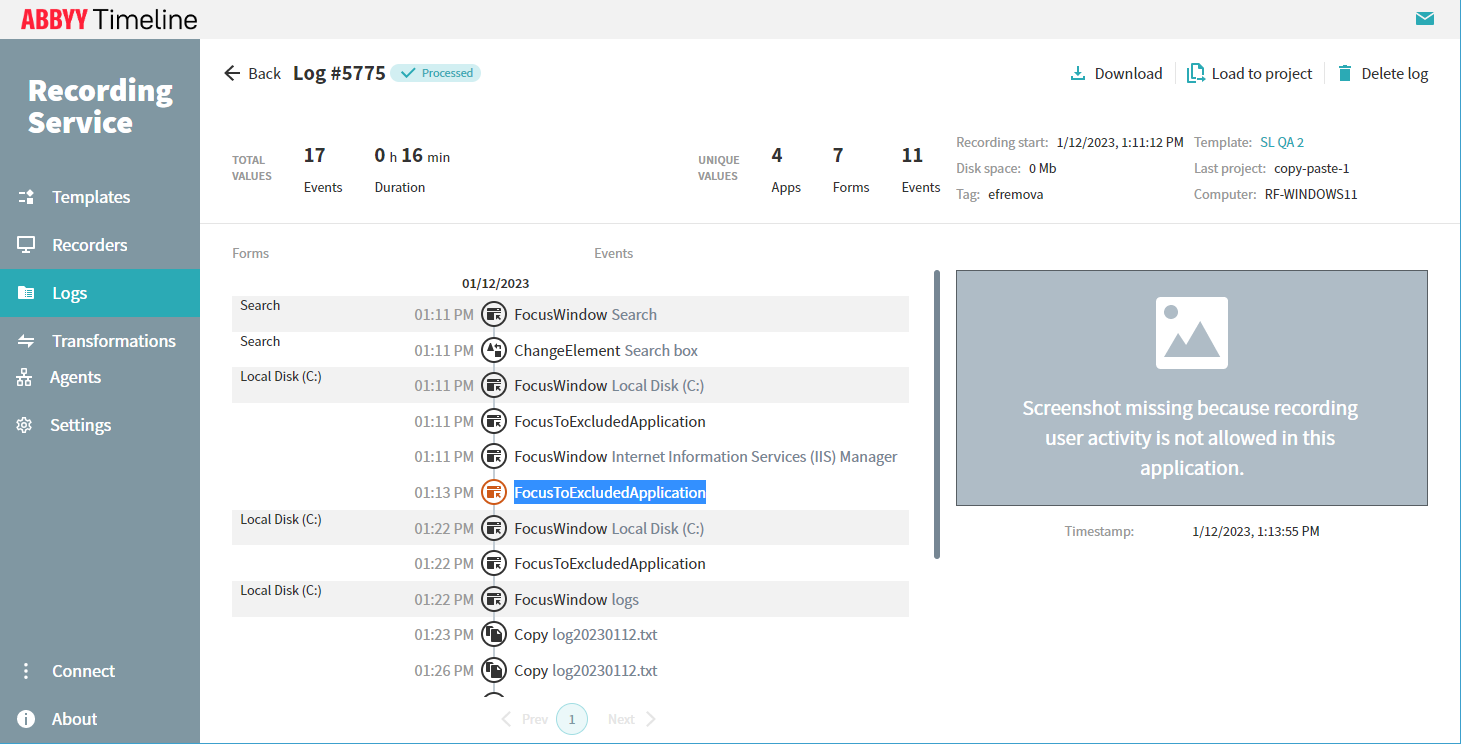
To open detailed information about the log, click on its ID. You can see captured screenshots by clicking the event on the left. Download, Load to project, and Delete log options are available for the opened log.
Note. Applications that are excluded from the recording are represented in the logs by the FocusToExcludedApplication event, and there are no screenshots for such events. See the picture below.
05.09.2024 16:23:54