English (English)
Send to FlexiCapture Options Dialog Box
In this dialog box, you can select options for exporting batches to ABBYY FlexiCapture. Select File → Sending Options... and click the FlexiCapture tab. You can also open this dialog box when selecting a Send to FlexiCapture... export profile by clicking the arrow next to the Send To button on the main window toolbar.
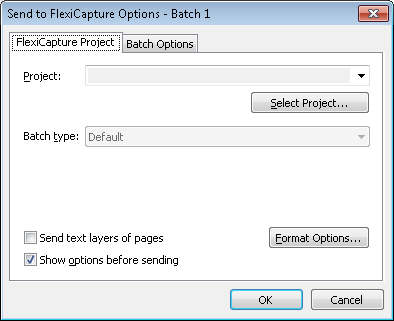
In this dialog box, you can select an ABBYY FlexiCapture project to which a batch will be exported and a batch type that will be assigned to it.
- Select a project in the Project list. Click Select Project... to find a project. For a remote project, click the Select Project... button to open the Select FlexiCapture Project dialog box and:
Show me the dialog
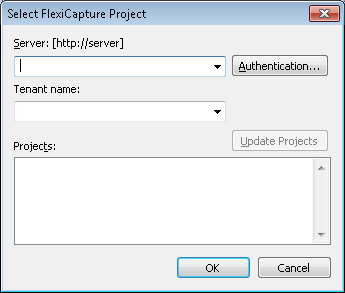
- In the Server field, specify the server path in the format http://server.
- In the Authentication... dialog box, specify the connection settings. You can use Windows authentication or enter a specific user name and password.
 Note. To enable authentication by name and password, you must set up accordingly the Internet Information Services on the computer where the Application Server is installed, i.e. allow basic authentication for the FlexiCapture\Server folder. Contact your system administrator for more information.
 - If needed, specify the Tenant name in the respective field.
- Click Update Projects. All the available ABBYY FlexiCapture projects will appear in the Projects list. Select the desired project from the list and click OK.
- Specify the project type.
- By default, the Scanning Station will send only document images. Enable the Send text layers of pages option if you want to send document images together with text for documents that have a text layer.
- Disable the Show options before sending option if you want to use the same options next time you export data to ABBYY FlexiCapture. In this case this dialog box will not appear when the next export process starts.
- Click the Format Options... button to specify image format options. In the Image Format Options dialog box, you can specify the following settings:
- Format: TIFF, BMP, JPG, JPEG2000, DCX packbits, PCX packbits, PNG, PDF, PDF/A. For details, see Supported Image Formats
- Color mode: Color, Grayscale, Halftone (b&w)
- Quality: Best, High, Normal, Low, Custom.
By changing image format options, you can reduce network loads.
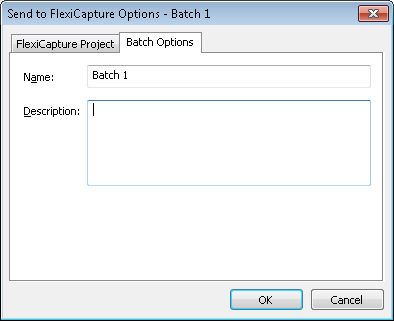
- Specify a batch name and provide a description on the Batch Options tab.
26.03.2024 13:49:49